A very fun way to combine different colors and make a bag. Because the crochet is very tight, the bag is more sturdy. in this post, I will show you various ways to combine squares to make exciting bags.
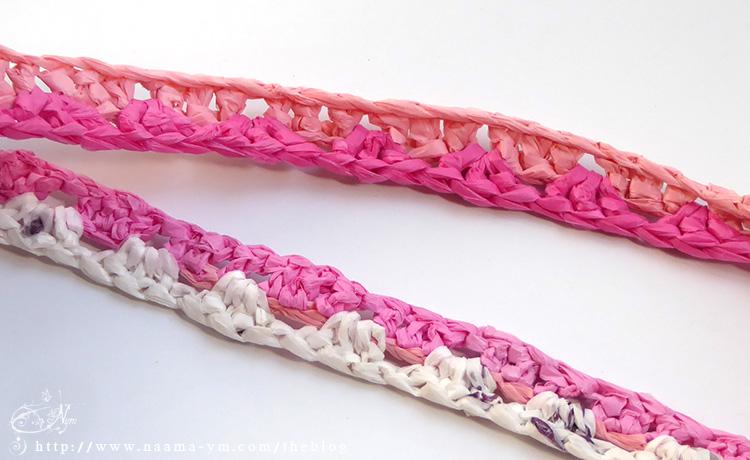
All the bags in this post were crocheted with plastic bags and not regular yarn. In this way, I upcycled used grocery bags to make something new and unique.
If you want to learn more
check out my granny square crochet class on Skillshare (and get 1 month free)
Examples of bags that I made with this method
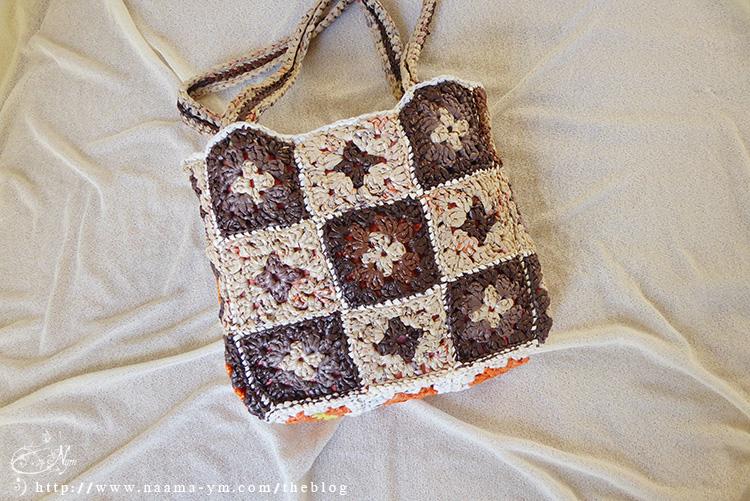
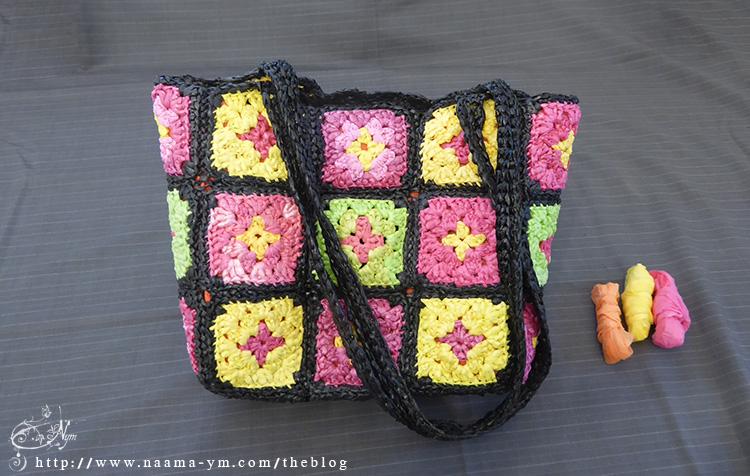
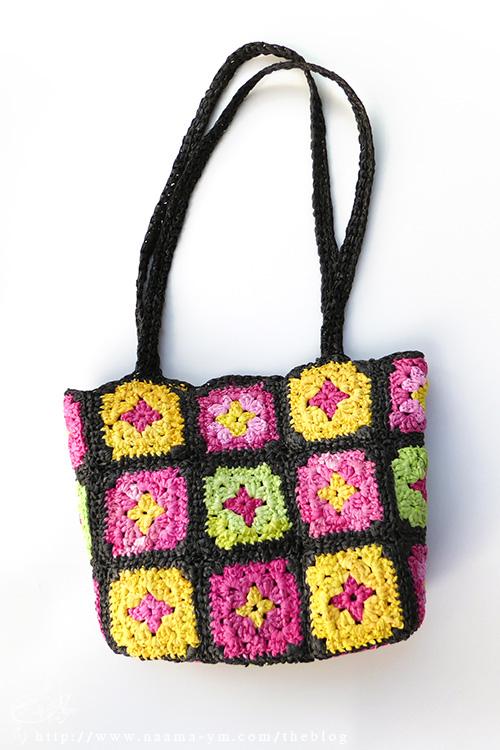
Nine squares bag
nine squares in the front and back, and three squares on the sides and at the bottom of the bag.

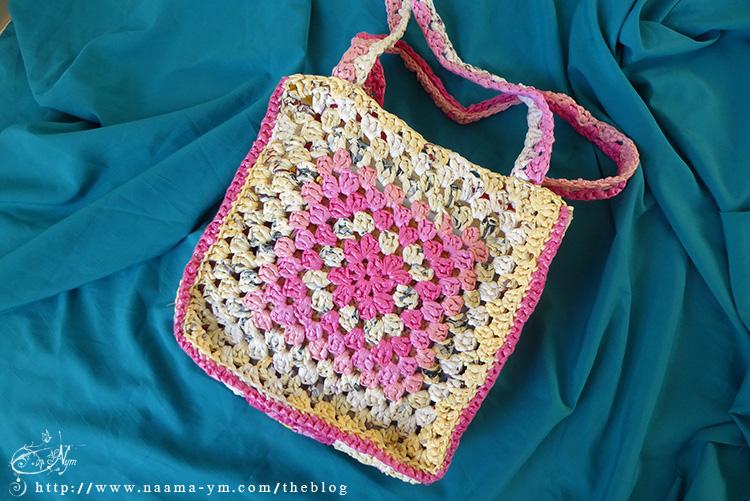
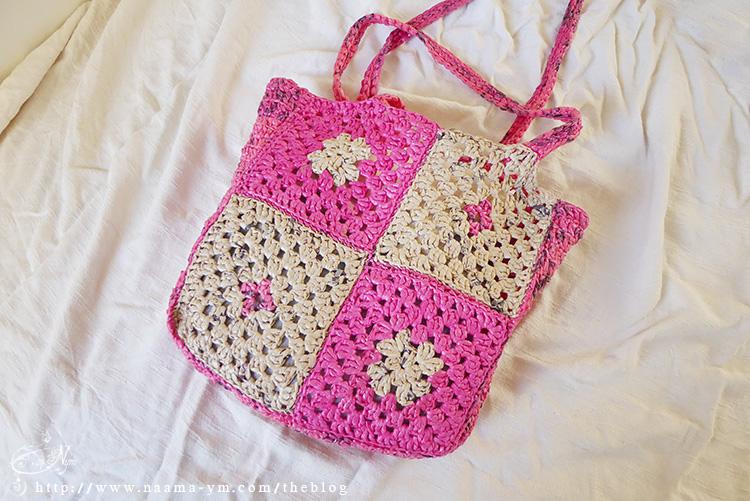
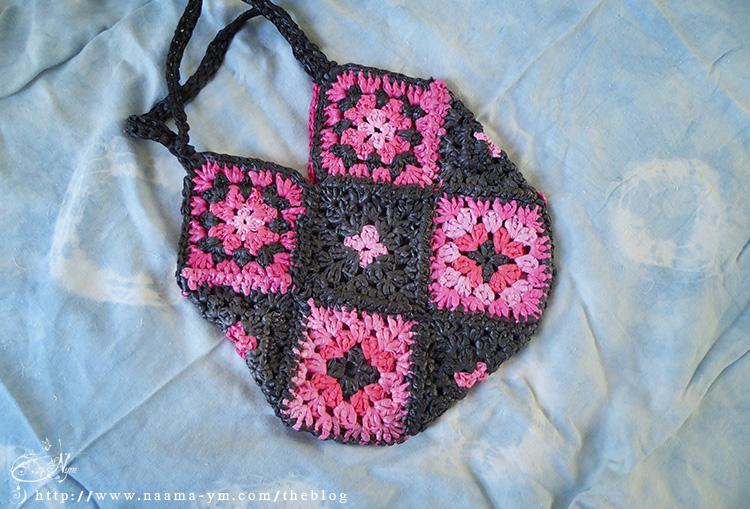
Another bag I made from pink and cream plastic bags, in this one the back side looks different.
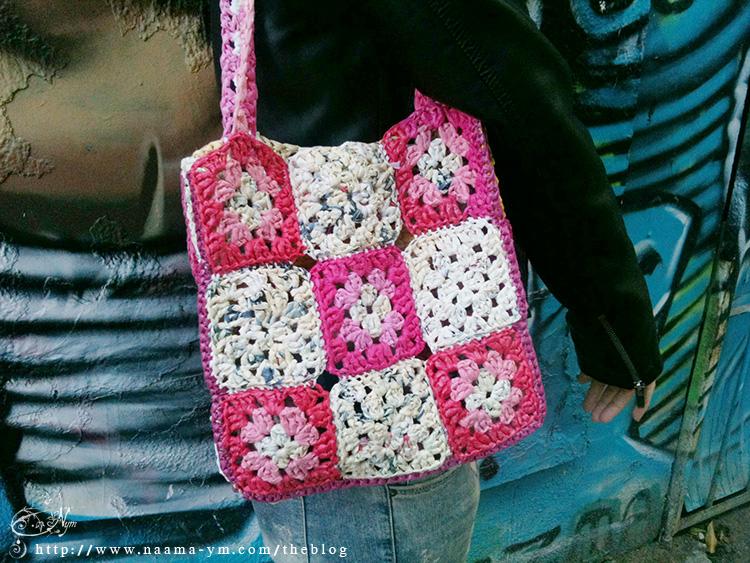
The front side of the bag
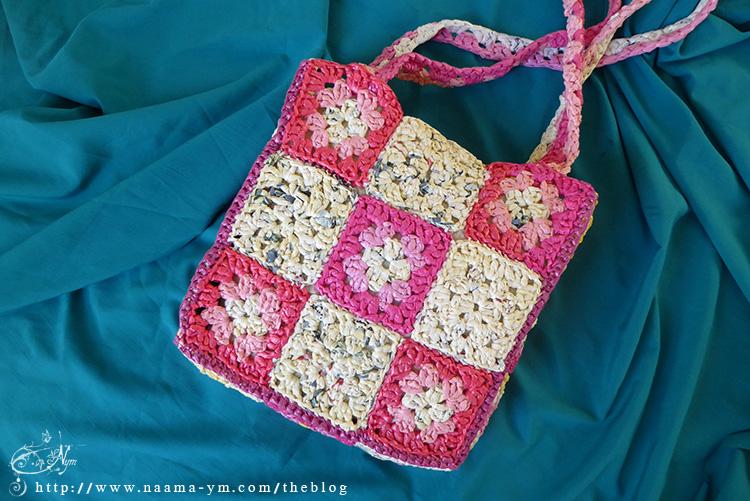
The back side has one large square
A closer look at the handles of the bag
In this bag the colors are vibrant, and the black yarn between the squares makes the colors pop out more.
Four squares bags
make larger squares, so you need only 4 for the front and 4 for the back.
you can connect the front and the back side along the sides to get a more flat bag, or crochet strips for the sides, like I did for this one.
The front side of the bag:
The back side

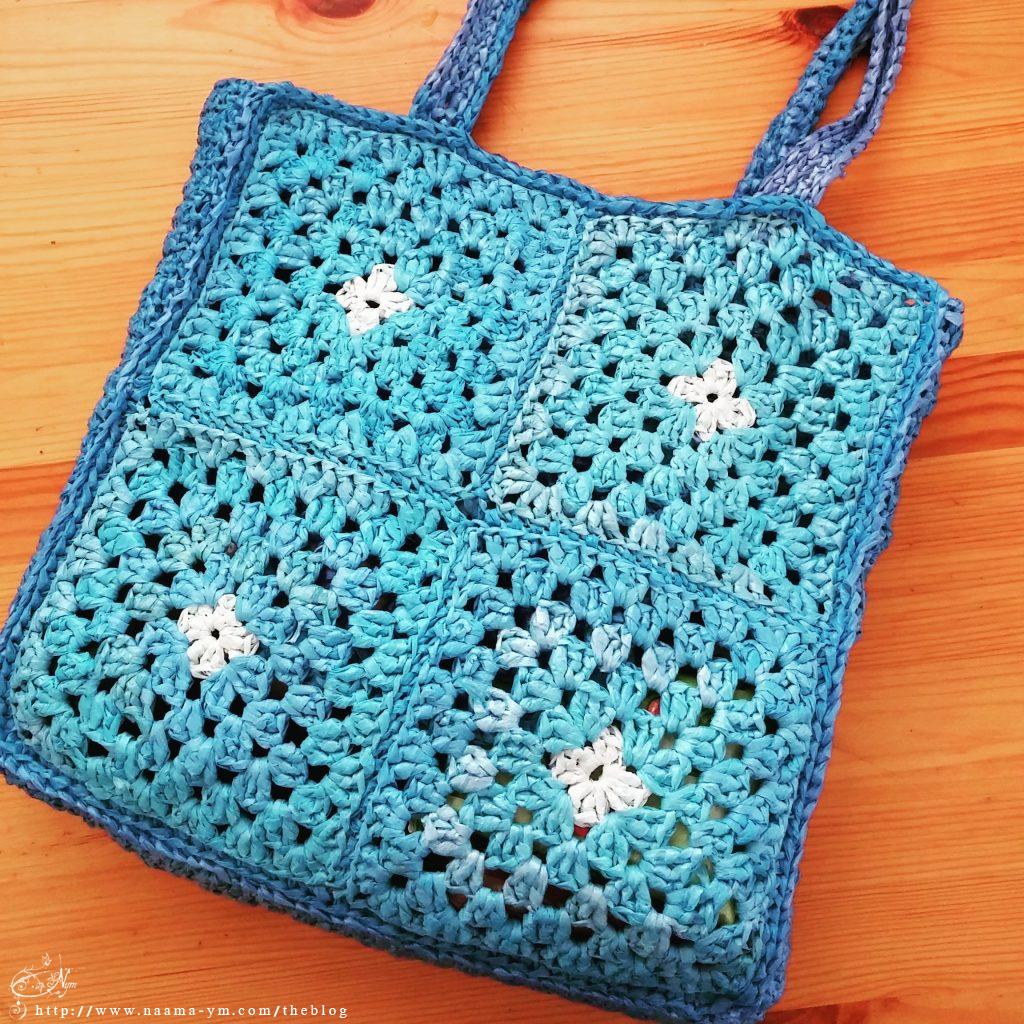
And a blue one.
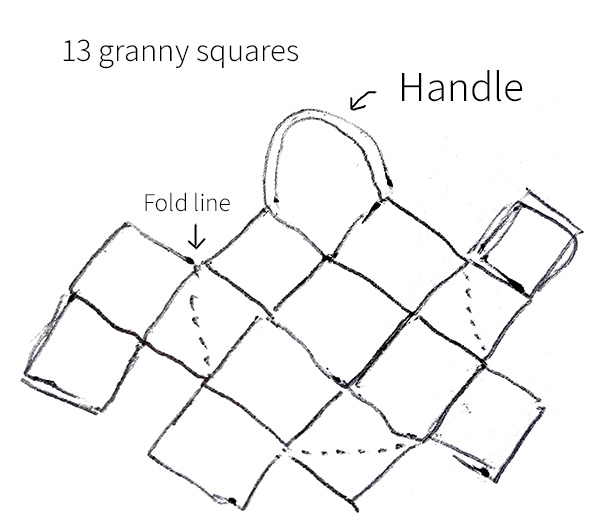
Diamond squares bag
This bag is made of 13 squares. in the next image, you can see how to connect them.
the bag is flat, but it can still hold a few essential things.
This is how you connect the squares to make the bag
Another one, with longer handles

If you want to learn more
check out my granny square crochet class on Skillshare (and get 1 month free)